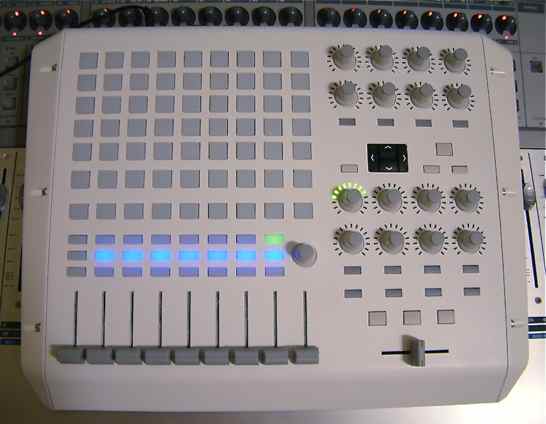
Synth Porn Saturday: David at Auditory Canvas posted this shot of his custom white Akai APC40:
I’m not going to add any lettering etc as i like the minimal look, and it enables me to reassign some of the buttons and knobs without them then being labeled wrongly.

heads up to David, he was the one who confirmed the APC 40 is really made of plastic.
You can see pics of the partially disassembled unit here:
http://enigmafon.com/2009/05/28/akai-apc40-vs-mon…
THanks very much for the feature guys, been a reader of this site for a long time, so it was really cool to see a pingback on my blog to here for my APC40 paintjob.
David (Auditory Canvas).
how did u open the apc?
i couldnt!!!
igor
Remove the rubber feet underneath, and undo all the screws underneath them. Then undo all the main screws on the circuit board. Then remove the knob caps, and undo the nuts on each encoder.
Then remove the 3 screws on each side cheek on the inside of the housing. The 3 allen screws on the outside of each cheek don't actually do anything, so don't undo them and try and take the cheeks, off, you'll break it. They are held on from the inside.
thanks!!!
did you void the warranty by doing that?
i need to replace a up fader on my apc 40 i kicked it by accident
is theyre any where with step by step instructions on how to do this
thanks
http://i.imgur.com/z8MUU.jpg here’s my red apc40
wher3 i can buy the Fader and Knobs?